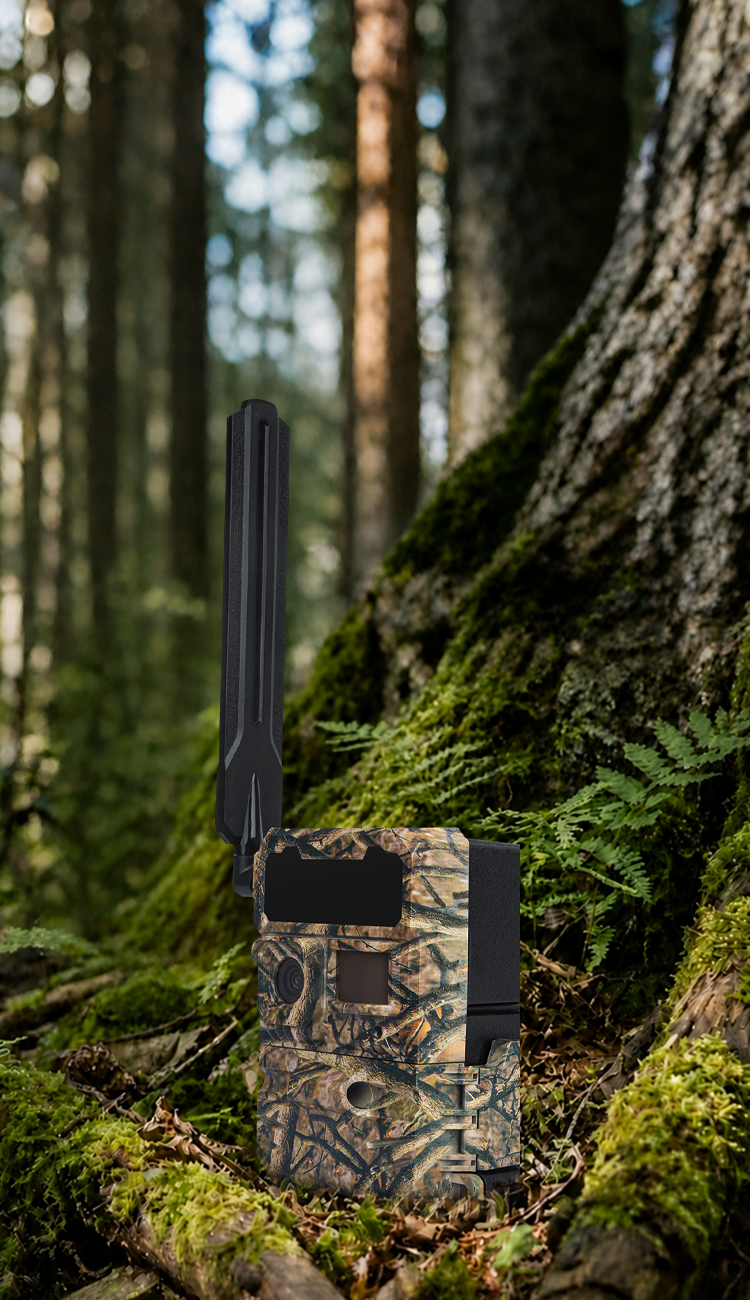
When evaluating a trail camera for an OEM or ODM project, image resolution is often one of the first specifications buyers compare. A 32MP camera may appear more competitive than a 12MP model, but the larger number does not necessarily translate into sharper wildlife images, better nighttime performance, or a more reliable product.
In practice, trail camera image quality depends on the entire imaging pipeline, from the lens and CMOS sensor to image signal processing, infrared illumination, compression, and image delivery.
For brands developing hunting cameras, wildlife monitoring devices, or cellular trail camera product lines, these technical decisions affect more than image clarity. They also influence battery life, cellular data consumption, manufacturing cost, and ultimately the user experience.
This guide explains how to evaluate those trade-offs, what specifications to verify with a trail camera manufacturer, and how to validate image performance before committing to production.
-
Why Megapixels Alone Don't Define Trail Camera Image Quality
Native Sensor Resolution vs. Interpolated Resolution
The first distinction OEM buyers should understand is the difference between native sensor resolution and output image resolution.
Native resolution refers to the number of effective pixels on the camera's image sensor. Output resolution refers to the dimensions of the image file generated after processing.
For example, a camera equipped with a 5MP CMOS sensor may offer image settings of 5MP, 12MP, 24MP, or 32MP. When output resolution exceeds the sensor's native pixel count, the additional pixels are produced through image processing rather than captured as independent sensor measurements.
Conventional interpolation estimates additional pixels from existing image information. It increases file dimensions but cannot create additional optical detail captured by the sensor.
This distinction matters when assessing fine image features such as antler edges, animal markings, fur texture, or objects at greater distances.
However, resolution is only one component of image quality. Sensor sensitivity, optical sharpness, exposure control, image signal processing, and compression can all affect the final result.
What About AI Super-Resolution?
AI-based super-resolution differs from conventional interpolation. Instead of relying only on fixed mathematical relationships between neighboring pixels, AI models use learned image patterns to reconstruct higher-resolution outputs.
This can improve perceived sharpness and detail visibility. However, AI-reconstructed information is not equivalent to independently captured optical detail, and reconstruction accuracy depends on the model, input quality, and scene conditions.
For applications requiring reliable photographic evidence or scientific documentation, buyers should distinguish between original sensor captures and AI-enhanced outputs.
The key procurement question is not simply how many megapixels a product advertises, but how much usable detail the entire imaging system preserves under actual field conditions.
-
Sensor and Lens Selection: The Optical Foundation
A camera's sensor and lens determine the quality of the image information available for subsequent processing.
Even an advanced image processor cannot fully compensate for an unsuitable lens, insufficient light, or a poorly matched optical configuration.
CMOS Sensor Performance
Sensor resolution is important, but OEM buyers should also evaluate low-light sensitivity, noise characteristics, dynamic range, and the relationship between pixel size and sensor dimensions.
A higher pixel count does not automatically mean better low-light performance.
For a given sensor area and comparable technology, smaller pixels may collect fewer photons per pixel during an exposure. This can increase the need for amplification or noise reduction in challenging lighting conditions.
However, actual performance also depends on sensor architecture, quantum efficiency, readout noise, and image processing.
When comparing sensor options, buyers should evaluate real captures taken under controlled, comparable conditions rather than relying on megapixel specifications alone.
Aperture and Field of View
Lens aperture, commonly expressed as an F-number, affects the amount of light delivered to the sensor.
A lower F-number generally indicates a larger relative aperture, potentially supporting better low-light performance when other optical factors are comparable.
Field of view (FOV) determines how much of the environment the camera captures.
A narrower field of view concentrates more image pixels on a distant subject, while a wider field of view captures more surrounding context.
Neither option is universally better.
For narrow animal trails, a relatively narrow viewing angle can help preserve subject detail. For feeding areas, open fields, or property monitoring, a wider angle may provide more useful coverage.
Matching Lens Coverage with PIR Detection
A trail camera's passive infrared (PIR) sensor detects changes in infrared radiation associated with movement and temperature differences.
Its detection coverage should be evaluated alongside the lens field of view.
If the PIR detection region extends significantly beyond the camera's image coverage, the device may be triggered by movement that is partially or entirely outside the visible frame.
If the image coverage is much wider than the effective detection region, some areas visible in the photograph may not reliably trigger an event.
Buyers should also confirm whether published FOV values refer to horizontal, vertical, or diagonal measurements. These angles are not directly interchangeable.
For OEM projects, the goal is to select an optical and detection configuration suited to the target environment, then verify the actual coverage through field testing.
-
How ISP Tuning Affects Real-World Image Quality
Image signal processing (ISP) is one of the most important—and often overlooked—components of trail camera performance.
The image sensor converts incoming light into electrical signals. The ISP transforms that sensor data into a viewable image through a sequence of processing operations.
Two trail cameras using sensors with similar specifications can produce noticeably different photographs because of their processing algorithms and tuning parameters.
Exposure Control and Dynamic Range
Outdoor cameras frequently encounter difficult lighting conditions.
A deer may stand in deep forest shade while the background is brightly illuminated. Sunrise and sunset can create rapidly changing contrast, while sunlight passing through branches can produce strong highlights and shadows.
Exposure algorithms must balance these competing requirements.
Overexposure can erase detail in bright regions. Underexposure can conceal important features in dark areas.
OEM buyers should assess whether exposure remains stable across changing lighting conditions and whether important subject details remain visible.
Where supported, techniques such as high-dynamic-range processing may help preserve detail in scenes with substantial differences between bright and dark areas.
Noise Reduction vs. Detail Preservation
Low-light imaging often requires greater sensor gain, which can make image noise more visible.
Noise reduction algorithms attempt to suppress unwanted variations in the image. However, aggressive noise reduction may also remove legitimate fine detail, producing unnaturally smooth fur, vegetation, or animal features.
This creates an important engineering trade-off.
An image with less visible noise is not necessarily an image with more usable information.
Buyers should compare original-size captures and inspect fine textures rather than evaluating only small preview images.
Sharpening and Compression
Image sharpening can improve perceived edge definition, but excessive sharpening may create halos around branches, animal outlines, or other high-contrast objects.
Similarly, strong JPEG compression reduces file size but may introduce blocking, ringing, or loss of texture.
The optimal configuration depends on how the image will be used.
A remote scouting camera may prioritize fast previews and manageable transmission costs. A wildlife research camera may prioritize preserving original image information for later examination.
For an OEM project, ISP tuning should therefore be evaluated against the intended application, rather than treated as a universal factory setting.
-
Night Imaging: Infrared Illumination, Exposure, and Motion Clarity
Nighttime performance is especially important for hunting and wildlife monitoring applications.
However, effective night imaging involves more than selecting the number or wavelength of infrared LEDs.
It requires a coordinated balance between sensor sensitivity, infrared illumination, exposure duration, image processing, and power consumption.
850nm vs. 940nm Infrared Illumination
Many trail cameras use infrared LEDs operating around 850nm or 940nm.
850nm illumination can provide stronger effective sensor response under comparable conditions because many CMOS sensors are more sensitive at this wavelength. However, some 850nm illuminators produce a faint visible red glow.
940nm illumination is commonly described as "no-glow" because it generally produces little or no noticeable visible red emission, making it useful where discreet operation is important.
The trade-off is that sensor sensitivity is often lower at 940nm, so achieving comparable image brightness may require different illumination power, exposure settings, or processing.
Actual performance depends on the complete optical system, not wavelength alone.
For OEM buyers, infrared selection should be based on the intended environment, required visibility, acceptable power consumption, and verified nighttime image quality.
Why Nighttime Brightness Is Not Enough
A nighttime photograph can appear bright while still failing to capture a moving animal clearly.
This happens because image brightness and motion sharpness are different performance characteristics.
Longer exposure times allow more light to reach the sensor, but movement during the exposure can create motion blur.
Shorter exposure times help freeze movement, but they may require stronger illumination, higher sensor gain, or additional noise reduction.
The challenge becomes particularly noticeable when animals move across the detection zone rather than remaining stationary.
For that reason, nighttime testing should include moving subjects at realistic distances—not just static objects illuminated by the camera.
IR-Cut Filter and Day-Night Transitions
Many trail camera designs use an IR-cut filter to help maintain daytime color accuracy.
In nighttime mode, the optical system allows infrared illumination to reach the sensor, enabling black-and-white imaging.
The transition between daytime and nighttime modes can affect exposure, color consistency, and image stability.
OEM buyers should test repeated transitions under gradually changing light, especially around dawn and dusk.
These conditions reveal how consistently the sensor, optical components, and image processing system work together.
-
Image Quality vs. Cellular Data and Battery Costs
For a standalone SD-card trail camera, image resolution primarily affects local storage requirements.
For a cellular trail camera, the same decision can also influence network traffic, transmission time, and battery consumption.
This makes image architecture a commercial decision as well as a technical one.
Understanding the Image Delivery Pipeline
A typical cellular trail camera workflow includes motion detection, camera activation, exposure, image processing, encoding, local storage, and remote transmission.
The exact sequence varies by platform, especially when the modem remains connected or when different media delivery modes are supported.
Cellular transmission can be a significant contributor to energy consumption, particularly under weak network conditions or during frequent uploads.
However, the amount of energy consumed depends on file size, network quality, modem behavior, retry logic, and power-management strategy.
For a brand planning to sell thousands of connected cameras, these decisions can influence data-plan economics and the cost of maintaining a satisfactory user experience.
Why Local Resolution and Transmitted Resolution Should Be Evaluated Separately
A useful approach is to distinguish between the image stored locally and the image delivered remotely.
Local storage can preserve a higher-resolution image, while remote delivery uses a smaller preview to reduce bandwidth and transfer requirements.
Some platforms also support requesting higher-resolution media when additional detail is needed.
This approach can give users fast access to important events without requiring every capture to be transmitted at the largest available file size.
A WILLFINE Product Example: 4.0T-CS
The
WILLFINE 4.0T-CS illustrates how different resolutions can serve different functions within a cellular imaging workflow.
According to its published product specifications:

 EN